Sourdough Discard Pizza Dough
Last March, after watching far too many Ballerina Farm Instagram reels, I jumped into the sourdough world with both feet. Making my own starter and keeping it going with perfectly <- (I’m being very sarcastic here) timed feedings. I studied up on sourdough processes and techniques. I experimented with trying to bake a beautifully scored boule with just the right crumb. But all this testing left me with one certainty, a lot of discard, and only so many recipes to use it. The best of which is this Sourdough Discard Pizza Dough crust made in a cast iron skillet.

Sunday night is pizza night around here and this recipe is usually what is on our menu.
Saturday morning, I begin this pizza dough by discarding a little sourdough starter into a mixing bowl, before adding water, flour, salt, and olive oil.
I then stir the dough ingredients together, cover, and let it sit on my kitchen counter for the day.

After the dough rests for about eight hours, I do a few stretch and folds to the pizza crust. This helps to “strengthen” the dough and form it into a ball.
Cover the dough and place it into the fridge overnight to ferment and develop its flavor and texture.
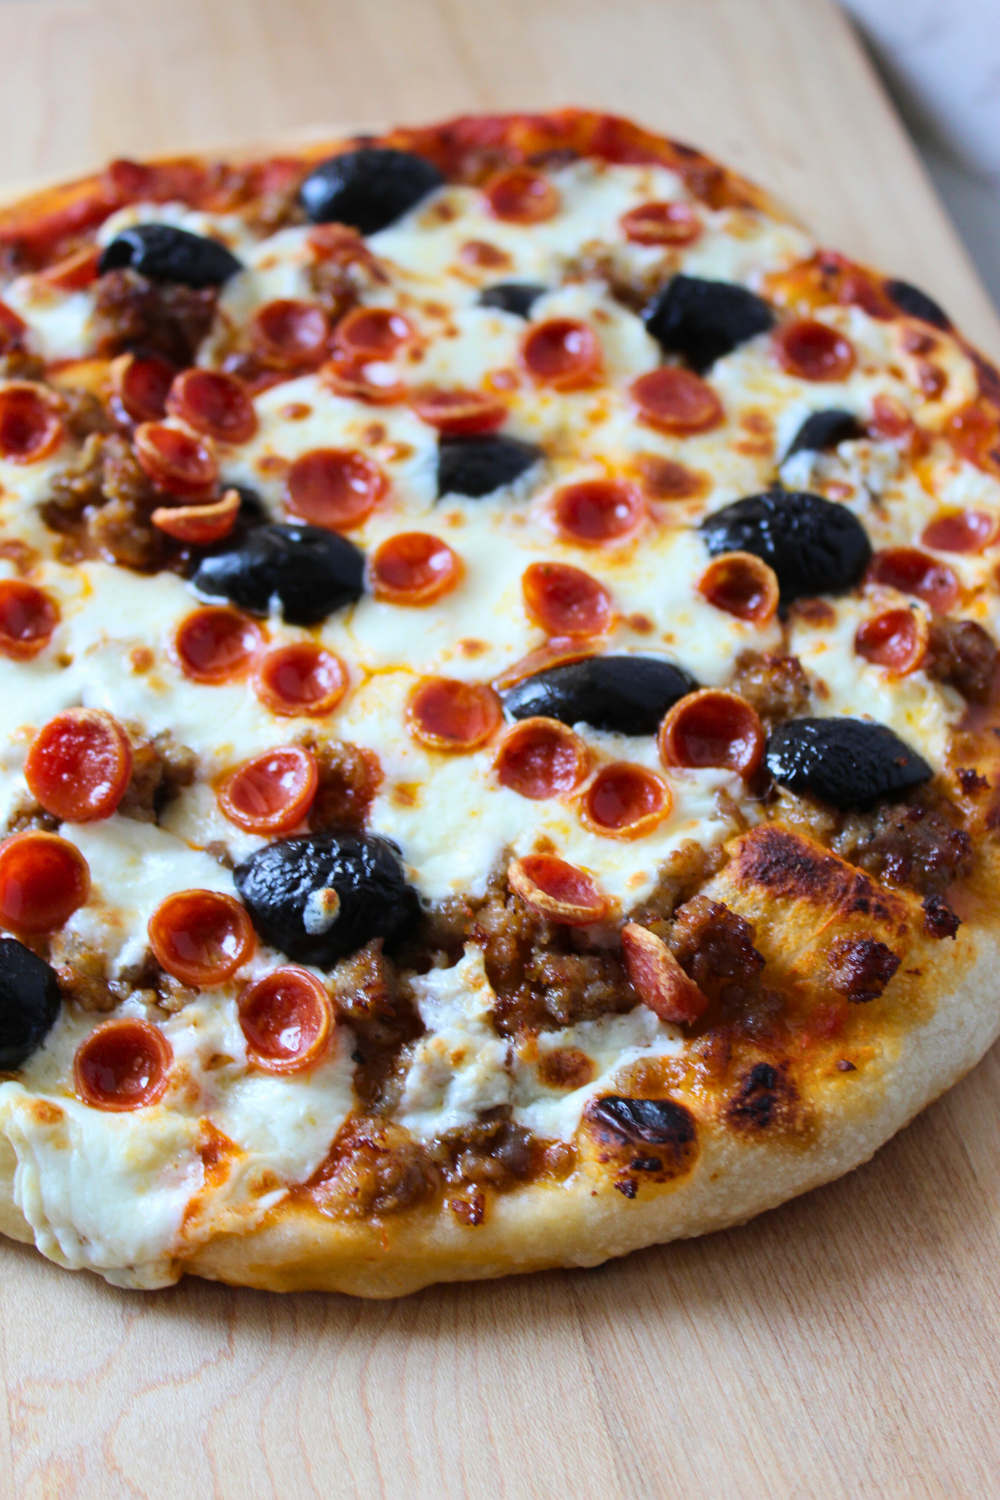
The next day, when I’m ready to make the pizza, I divide the dough in half and shape each into a ball and then flatten into the size of my skillet.
When ready to cook, heat a cast iron skillet over medium to medium-high heat. Brush a little olive oil over the surface of the pan and place the flattened pizza dough into the skillet.
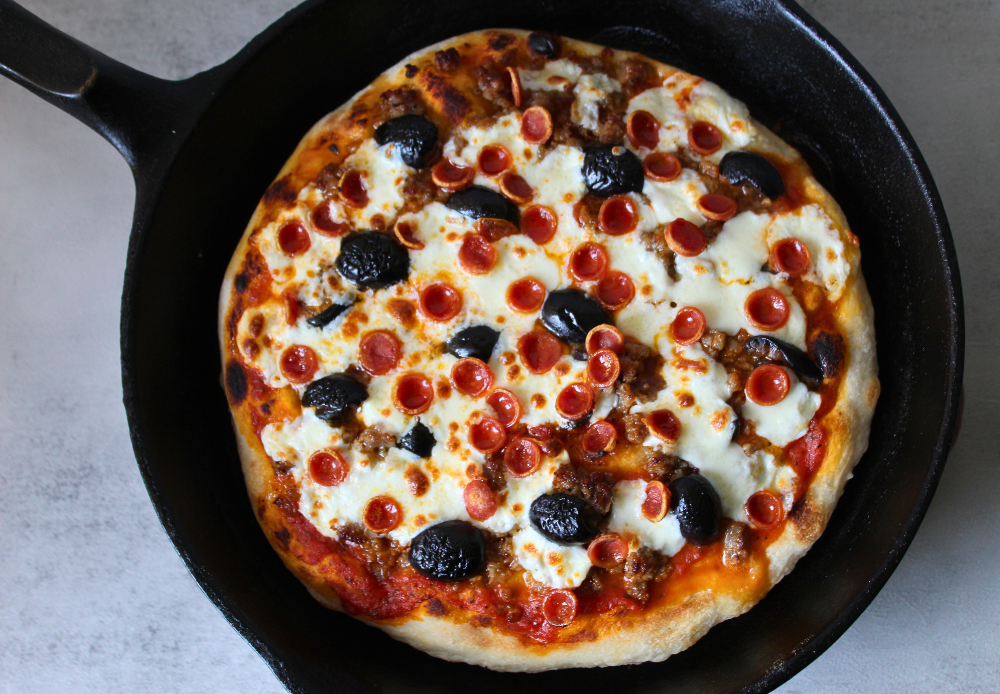
Immediately, add your pizza sauce and other toppings on the crust.
I make these pizzas with sausage, black olives, fresh mozzarella, and mini pepperonis.
(Note: try to stay away from some ingredients that give off a lot of moisture when they cook. For example, sliced mushrooms or Canadian bacon. They don’t do as well with this baking process and it can possibly cause the crust to become soggy.)

Next, place the skillet in an oven about 6 inches from the broiler.
Broil the pizza for about 3-7 minutes. Or until the cheese is gooey and the crust, golden brown.
Put the finished pizza onto a cutting board and slice.
Repeat the same process with the second ball of dough and I promise, pizza night will never be the same!

Sourdough Discard Pizza Dough
The best Sourdough Discard Pizza Dough recipe. Made in a cast iron skillet, the crust is crispy and chewy. It's quick, simple, and delicious.
Ingredients
Sourdough Discard Pizza Dough Crust
- 50 grams Sourdough Starter Discard
- 175 grams Water
- 250 grams Bread Flour
- 15 grams Olive Oil
- 5 grams Salt
For the Pizza
- Olive Oil
- Pizza Sauce
- Fresh Mozzarella, in slices or small pieces
- Toppings of Your Choice (my favorites are sausage, olives, and pepperoni)
Instructions
Day #1- Morning
-
In a mixing bowl, weigh out discard and water. Stir to combine. Then add in flour, olive oil, and salt. Using a spatula, mix the dough until the ingredients are fully incorporated.
-
Cover the bowl and allow to rest at room temperature. I usually wait about 8-12 hours, but this can be adjusted to fit your needs and schedules.
Day #1- Night
-
After the dough has rested, perform a set of stretch and folds. Wet your hand with water to prevent the dough from sticking, then gently pull one side of the dough up and over itself. Turn the bowl and repeat this on all sides of the dough until you've turned the bowl in a full circle (about 4-5 stretches and folds total).
-
Cover the bowl again and place into the fridge until the next day. You can store your dough this way for up to 36 hours or use immediately if it fits your schedule.
Day #2- Morning
-
The morning of (or a couple hours before I make my pizzas), I remove the dough from the fridge, divide it into 2 equal pieces on a floured surface. Shape each portion into a ball and return them to the fridge until you are ready to bake.
Day #2- Night
-
Approximately 10-15 minutes before baking, remove the dough balls from the fridge and place onto a lightly floured surface. Flatten slightly with your hands into a disc shape.
-
Move an oven rack to 6 inches below your broiler. Turn on your oven's broiler function to preheat.
-
On the stovetop, heat your cast iron skillet (I use one that is approximately 8 inches in diameter) over medium to medium-high heat. While the skillet is preheating, use your hands and/or a rolling pin to stretch and flatten one of the pizza crusts into an 8" circle. (If you find the dough difficult to shape, let it rest on the counter for another 10-15 minutes in order for the gluten to relax).
-
When the skillet is hot, brush the inside surface of the pan with olive oil, then lay the circle of dough into the skillet. Press the dough carefully with your fingertips to make sure most of the pan's bottom is covered.
-
Immediately, top the crust with pizza sauce and your chosen toppings.
-
Turn off the heat on your stove, and then transfer the skillet to the broiler to finish baking the top of the pizza. Broil for 3-7 minutes (my perfect time seems to be about 5 minutes) or until the cheese is melted and crust golden. NOTE– Pay attention while the pizza cooks. Using the broiler function on an oven can make your pizza go from not done to burnt in the blink of an eye.
-
Remove the pan from the oven and carefully transfer the pizza from the skillet onto a cutting board to slice.
-
Repeat the baking process with the second crust and enjoy!
Recipe Notes

Did you make this recipe?
Tag me on Instagram using @MyFarmhouseTable or #MyFarmhouseTable


Leave a Reply